Using a small retailer’s data model as our example, you’ll learn to manage solutions and projects, update data models, work with Git repositories, and generate technology-specific files. We’ll demonstrate how biGENIUS-X simplifies complex tasks like model validation and deployment while making team collaboration more efficient.
Introduction to Solutions, Projects, and generators
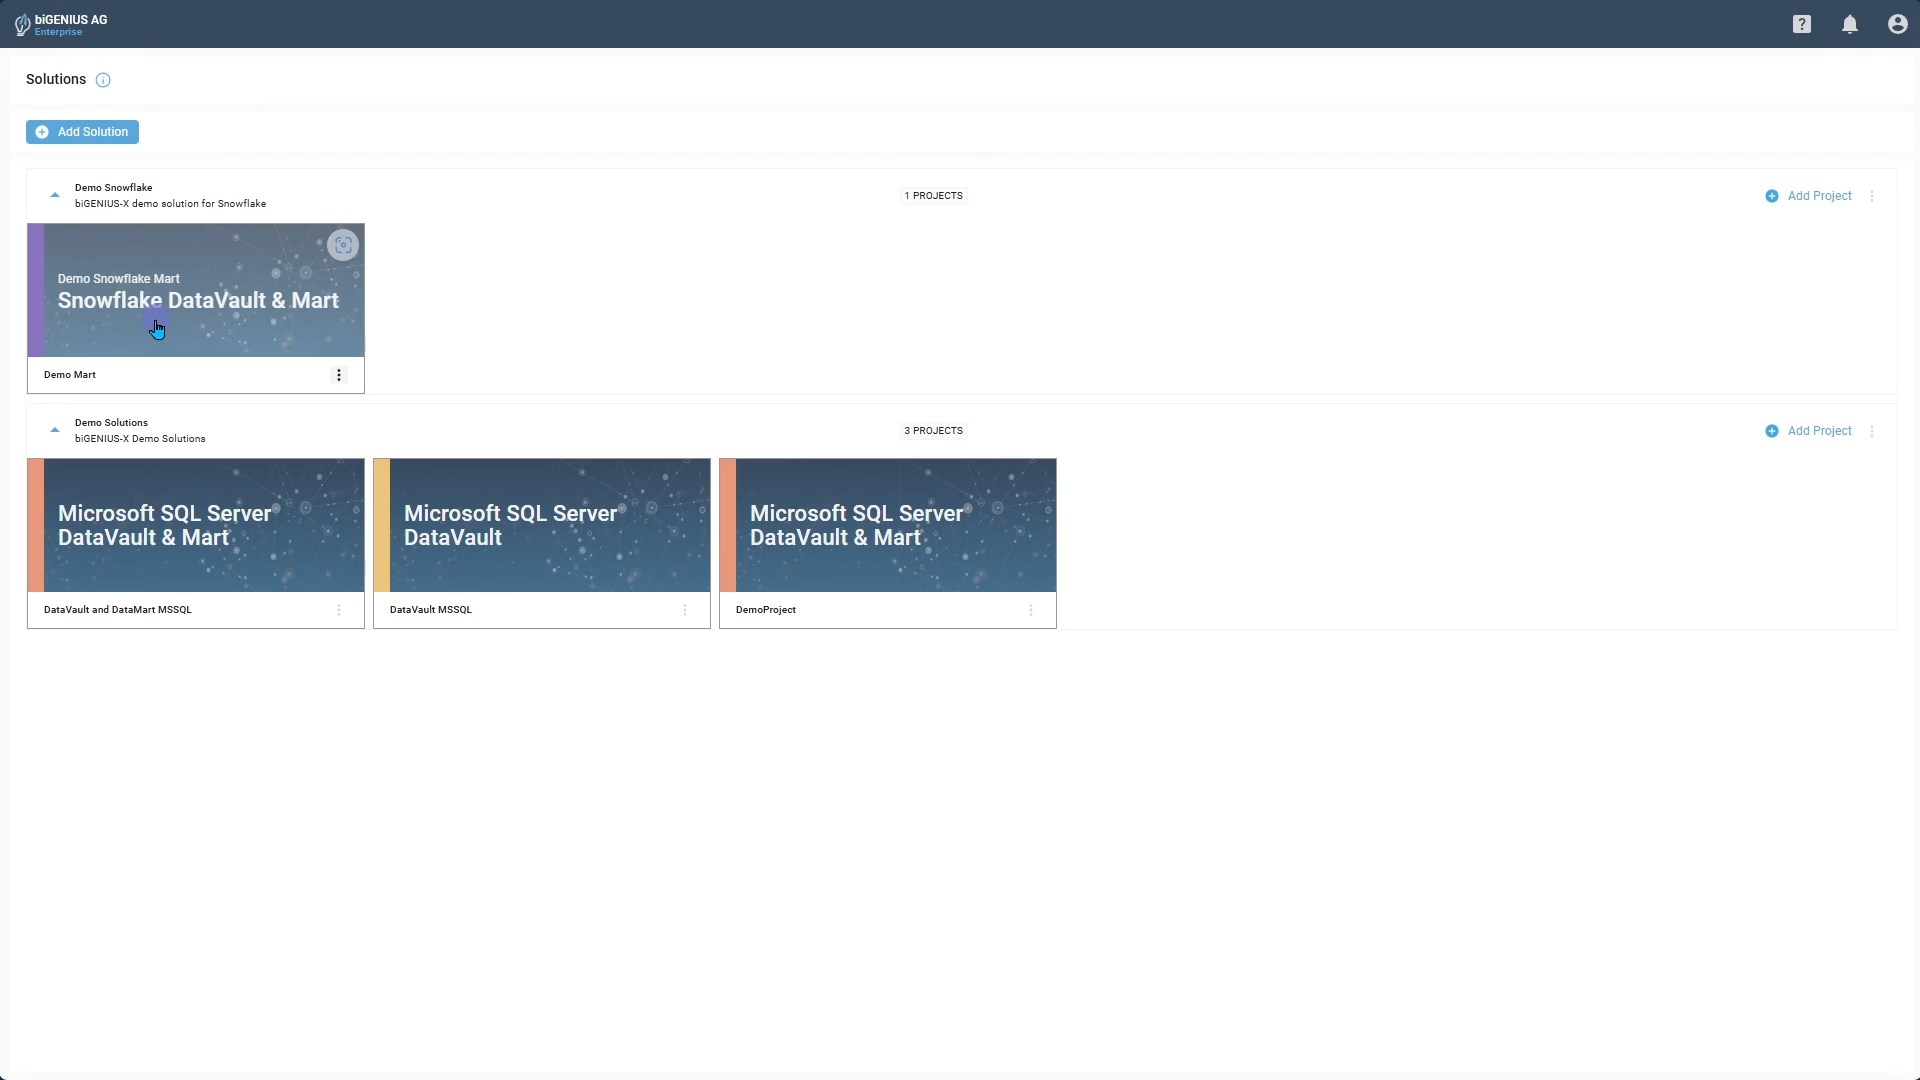
Solutions act as containers that organize your projects and manage user access. When you expand a Solution, you’ll see all its Projects. Each Project is a basis for a data product, which uses one biGENIUS-X generator for your chosen target technology (e.g., Databricks or Snowflake) and a specific modeling approach (dimensional modeling or Data Vault modeling).
biGENIUS-X stores all Projects in Git repositories, giving you robust branch management tools. Based on your Git provider (e.g., GitHub, GitLab, Azure DevOps), you can initiate pull requests directly from the platform, which redirects you to the appropriate tool to complete the request.
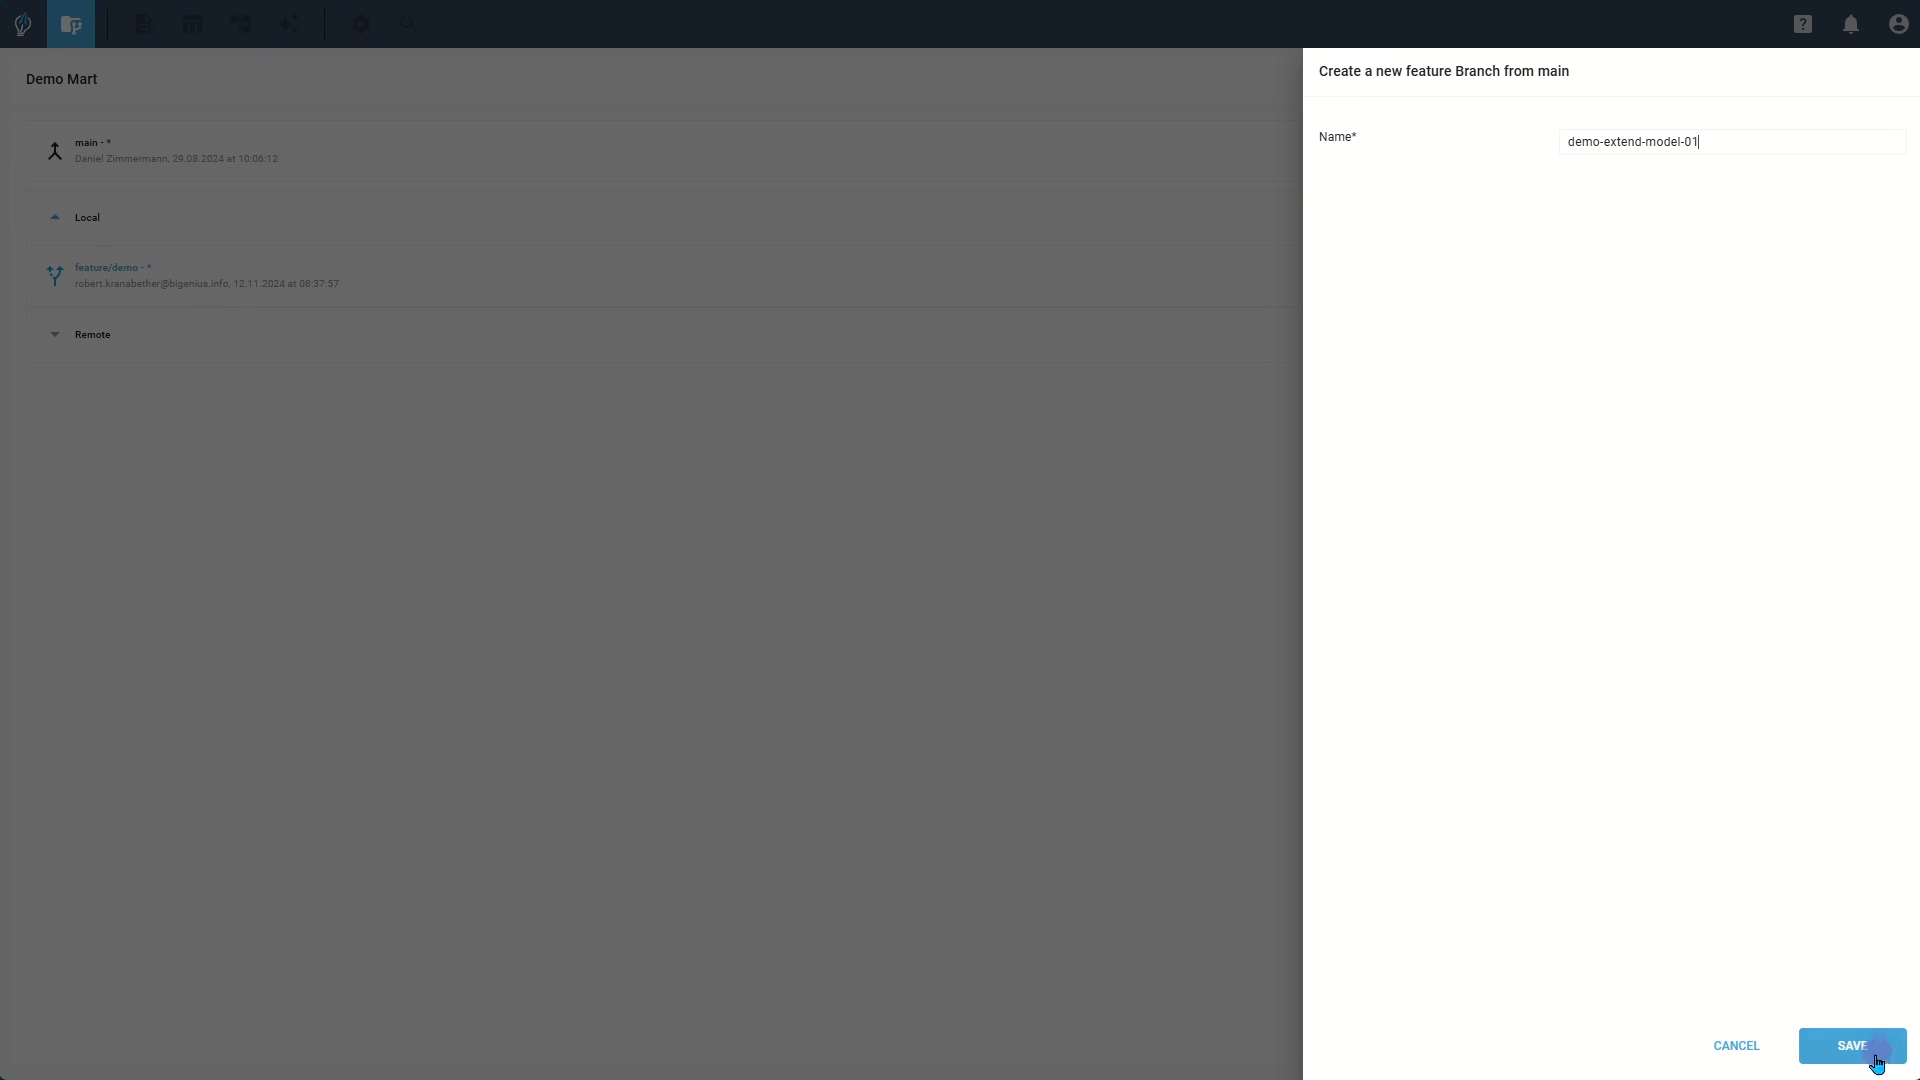
Step 1: Manage Feature Branches
When you need to make updates, create a new Feature Branch or use an existing one. Opening a branch brings you to the biGENIUS-X Workbench, where you can visualize and manage your data model. You can either view your entire model at once or create custom views that focus on specific parts.
Let’s look at how data flows through our retail example’s Solution layers:
- Source model objects initiate the process and create stage model objects
- Stage objects transform into Data Vault structures (hubs, satellites, and links)
- These combine into data mart objects ready for analysis
Step 2: Update source systems
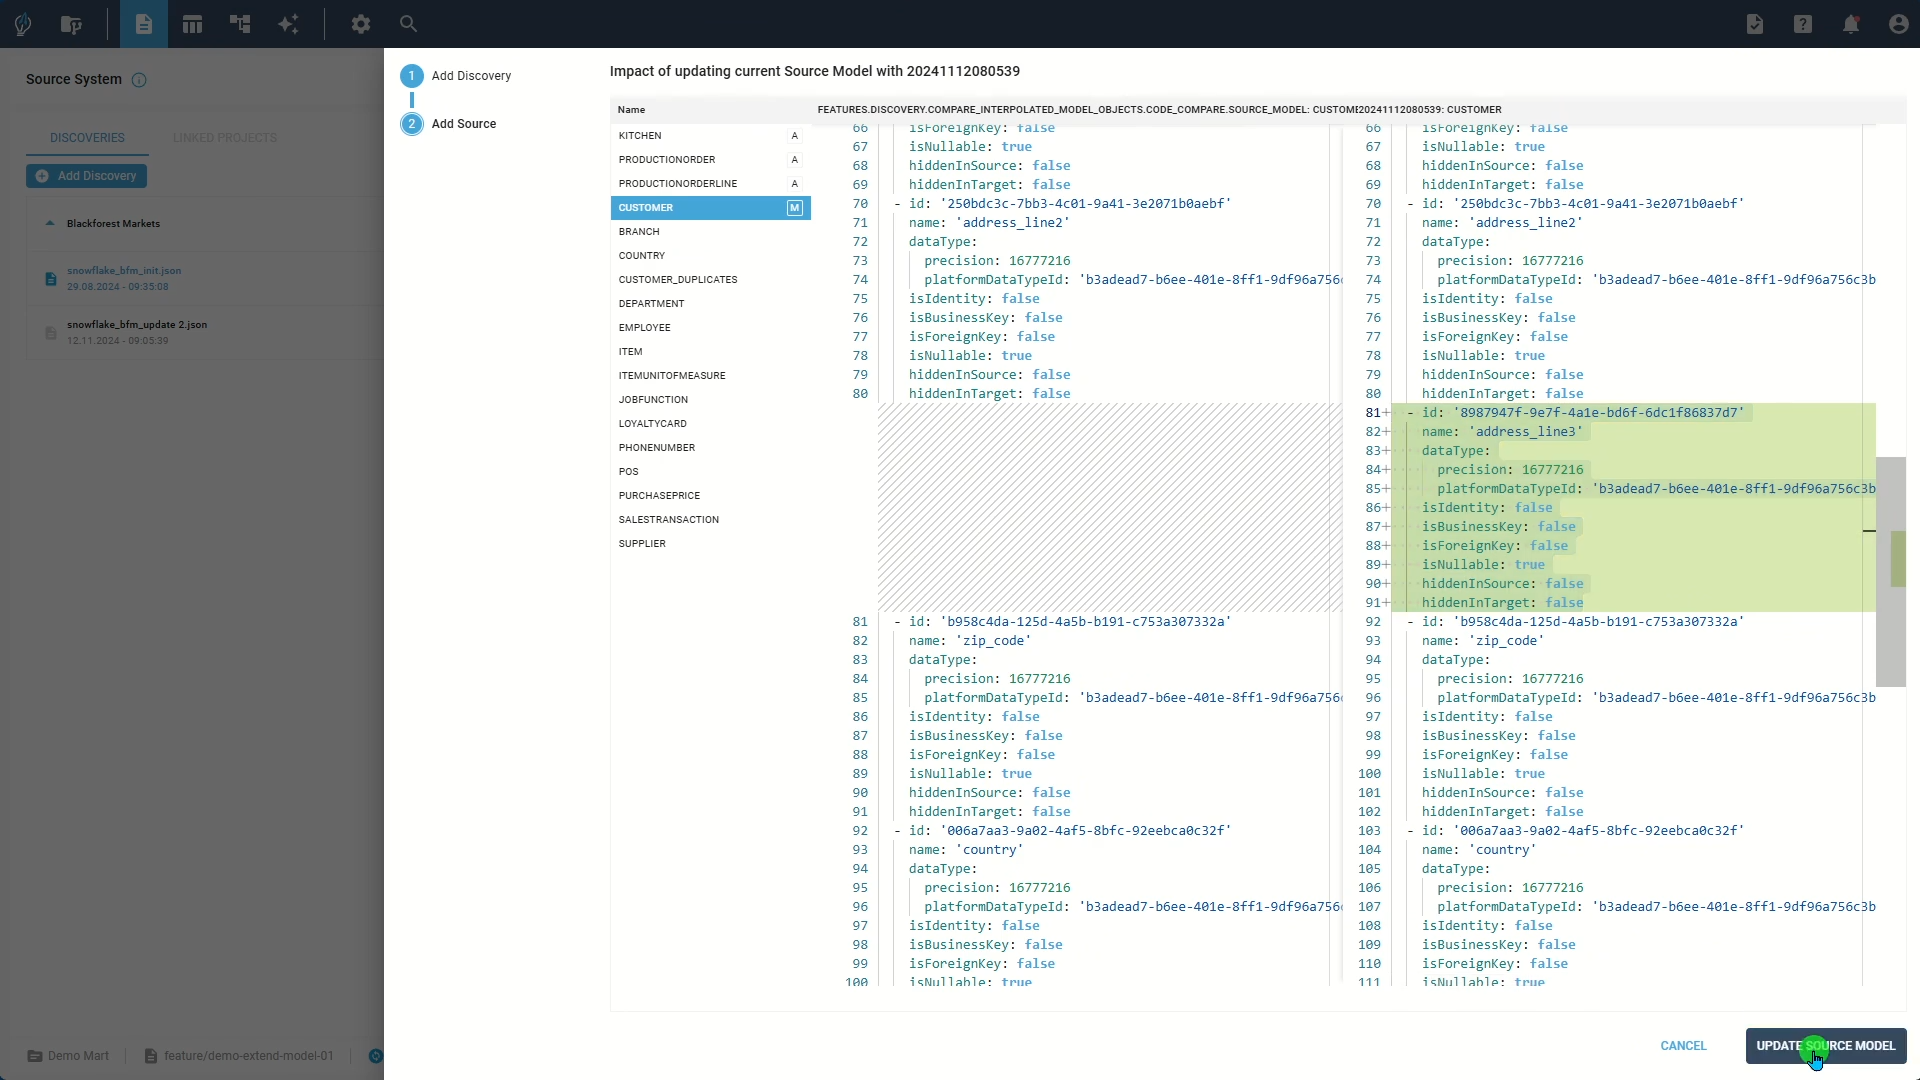
Manage source system updates through the Source System page. Connect each source system to one or more discovery files that show the database or file structure at specific times. These discovery files only contain metadata like table and field structures—not the actual data.
- The biGENIUS Discovery Companion App helps you create discovery file creation.
- Alternatively, you can use tools like Data Hub or manually create discovery files.
Steps to apply source system updates:
- Create a new discovery file
- Add the file to your existing source system and select its type
- Compare current and updated source object models
- Click Update Source Model to apply changes
Link Projects
The Linked Project tab lets you share modeling data between projects. Simply export one project as a Linked Project file and import it into another. Unlike discovery files, Linked Project files can contain information from any modeling layer, offering greater flexibility.
Step 3: Update model objects
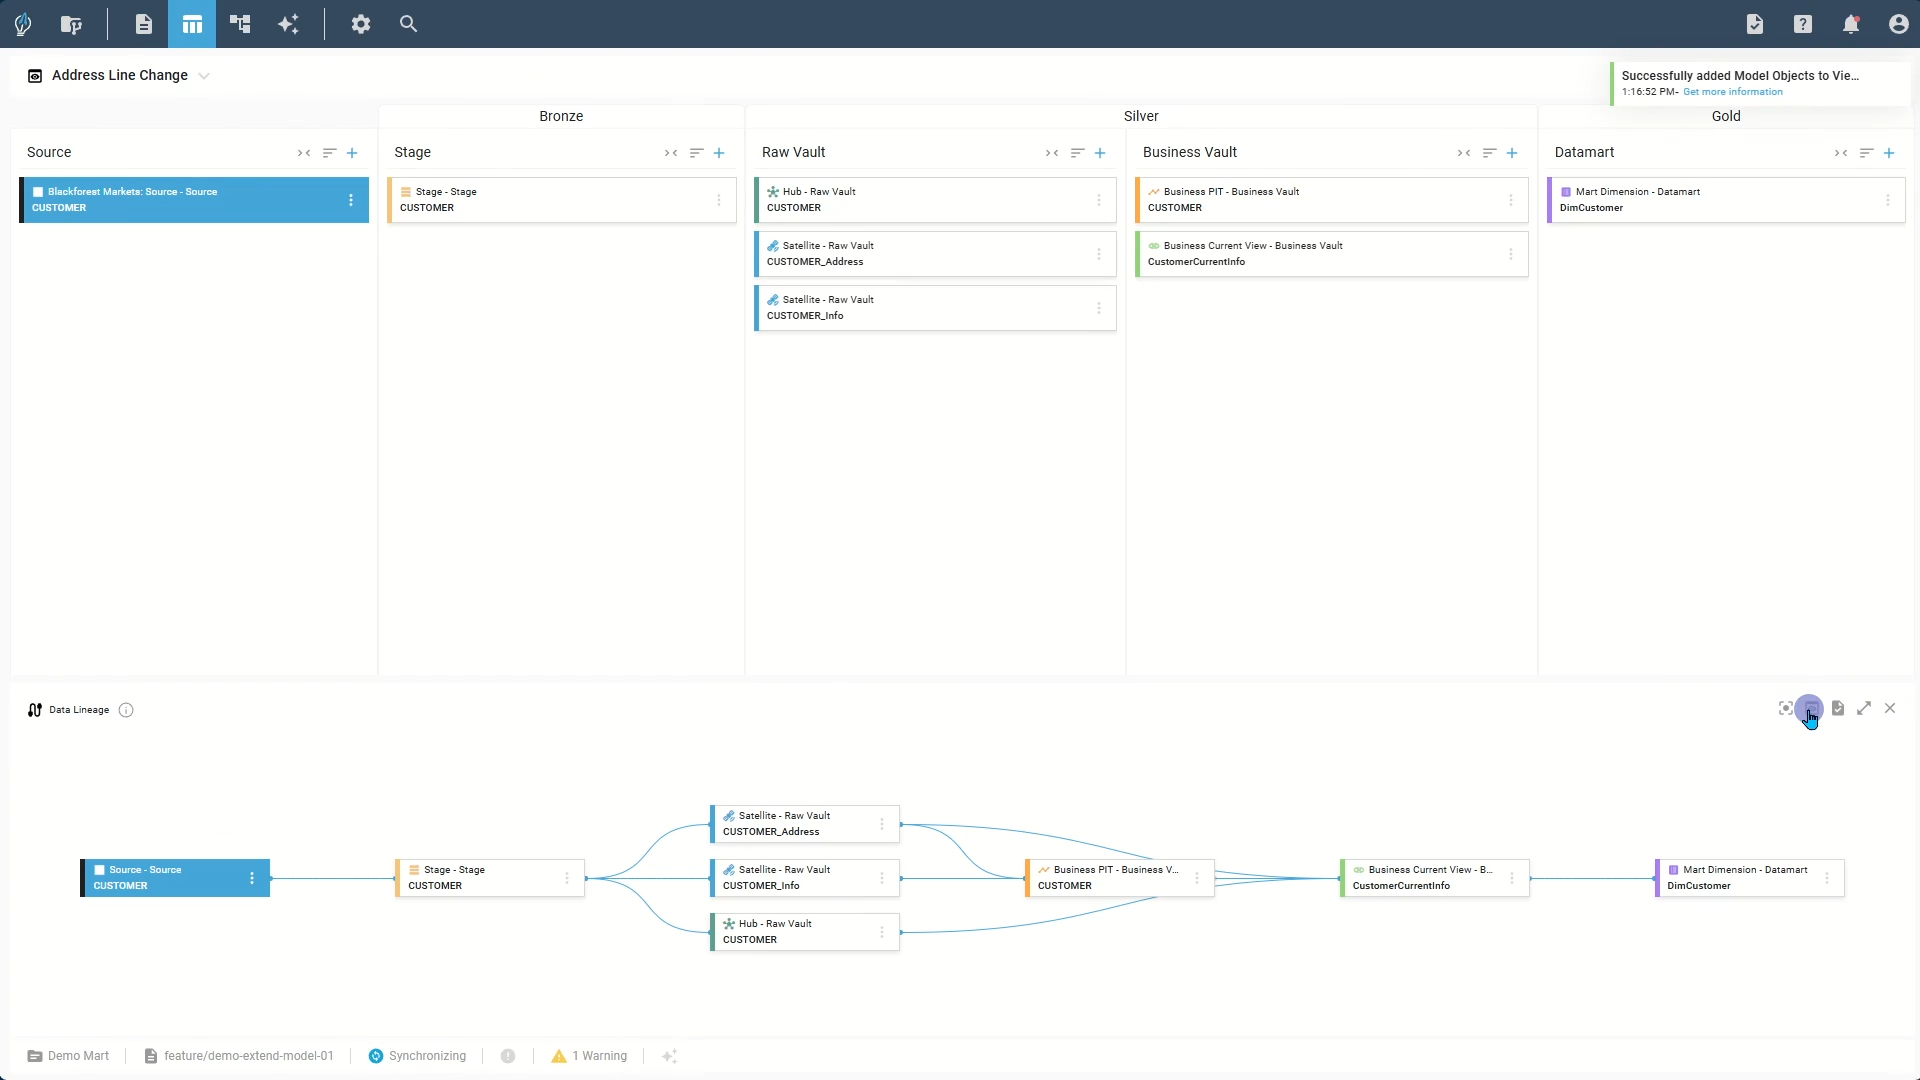
Updating model objects begins by organizing your views and tracking necessary changes:
- Create a focused view
- Load relevant source objects into the view
- Use Data Lineage to visualize the complete data flow
- Add objects to your task list to track changes across sessions
Step 4: Apply updates
Update each object type in sequence:
Stage Object
Open it to map source terms to target terms manually or use Auto Mode for faster results. Preview the output with the Show Code button to ensure accuracy.
Hub Object
Extend its functionality by creating satellites to incorporate additional attributes. Automation wizards can simplify this process significantly.
Point-in-Time Table
Update it by creating relationships and mapping hash keys and validity terms.
Result View Model
Add new terms and establish connections to the appropriate source objects.
Data Mart Object
Add new mappings and use the expression editor to define any required business logic, such as creating a “Full Address” term.
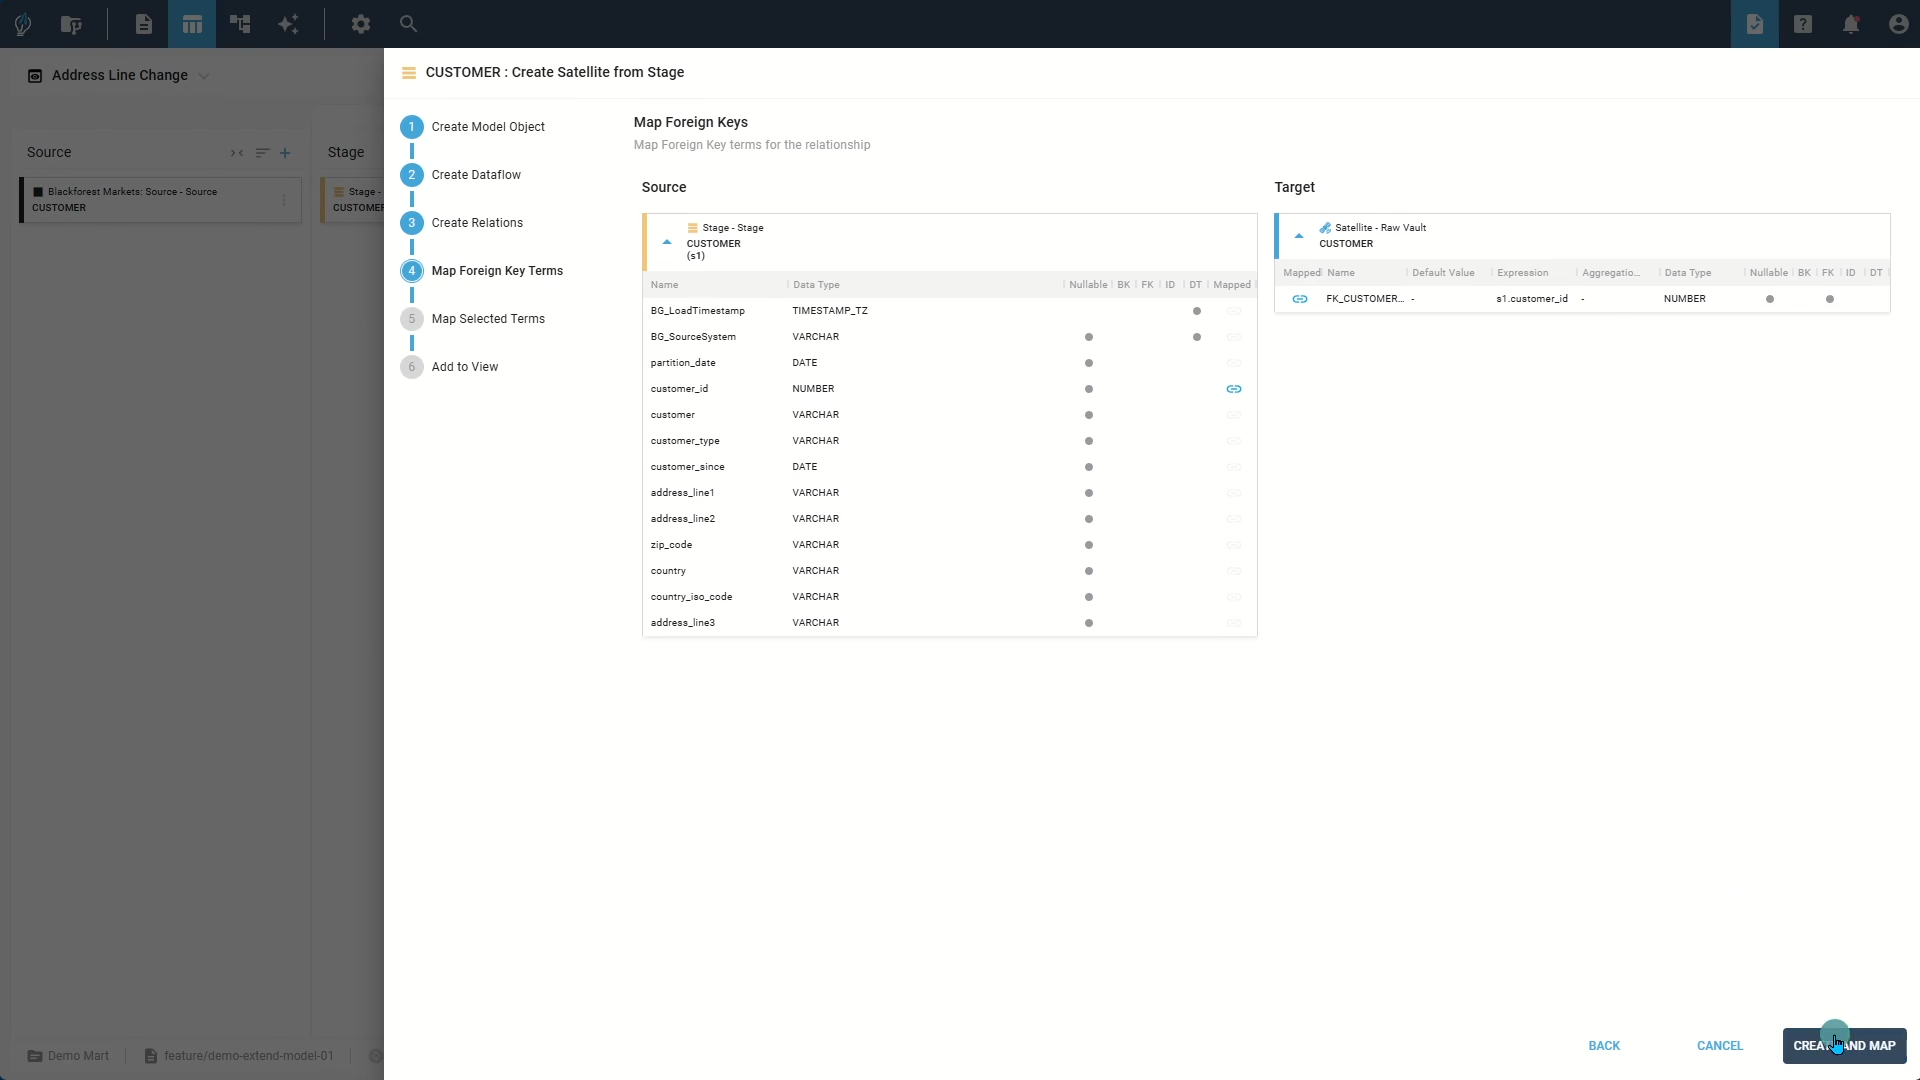
Step 5: Troubleshoot and resolve errors
biGENIUS-X validates your model continuously. Common tasks include:
- Setting mandatory parameters for new terms.
- Addressing warnings, such as nullable business keys
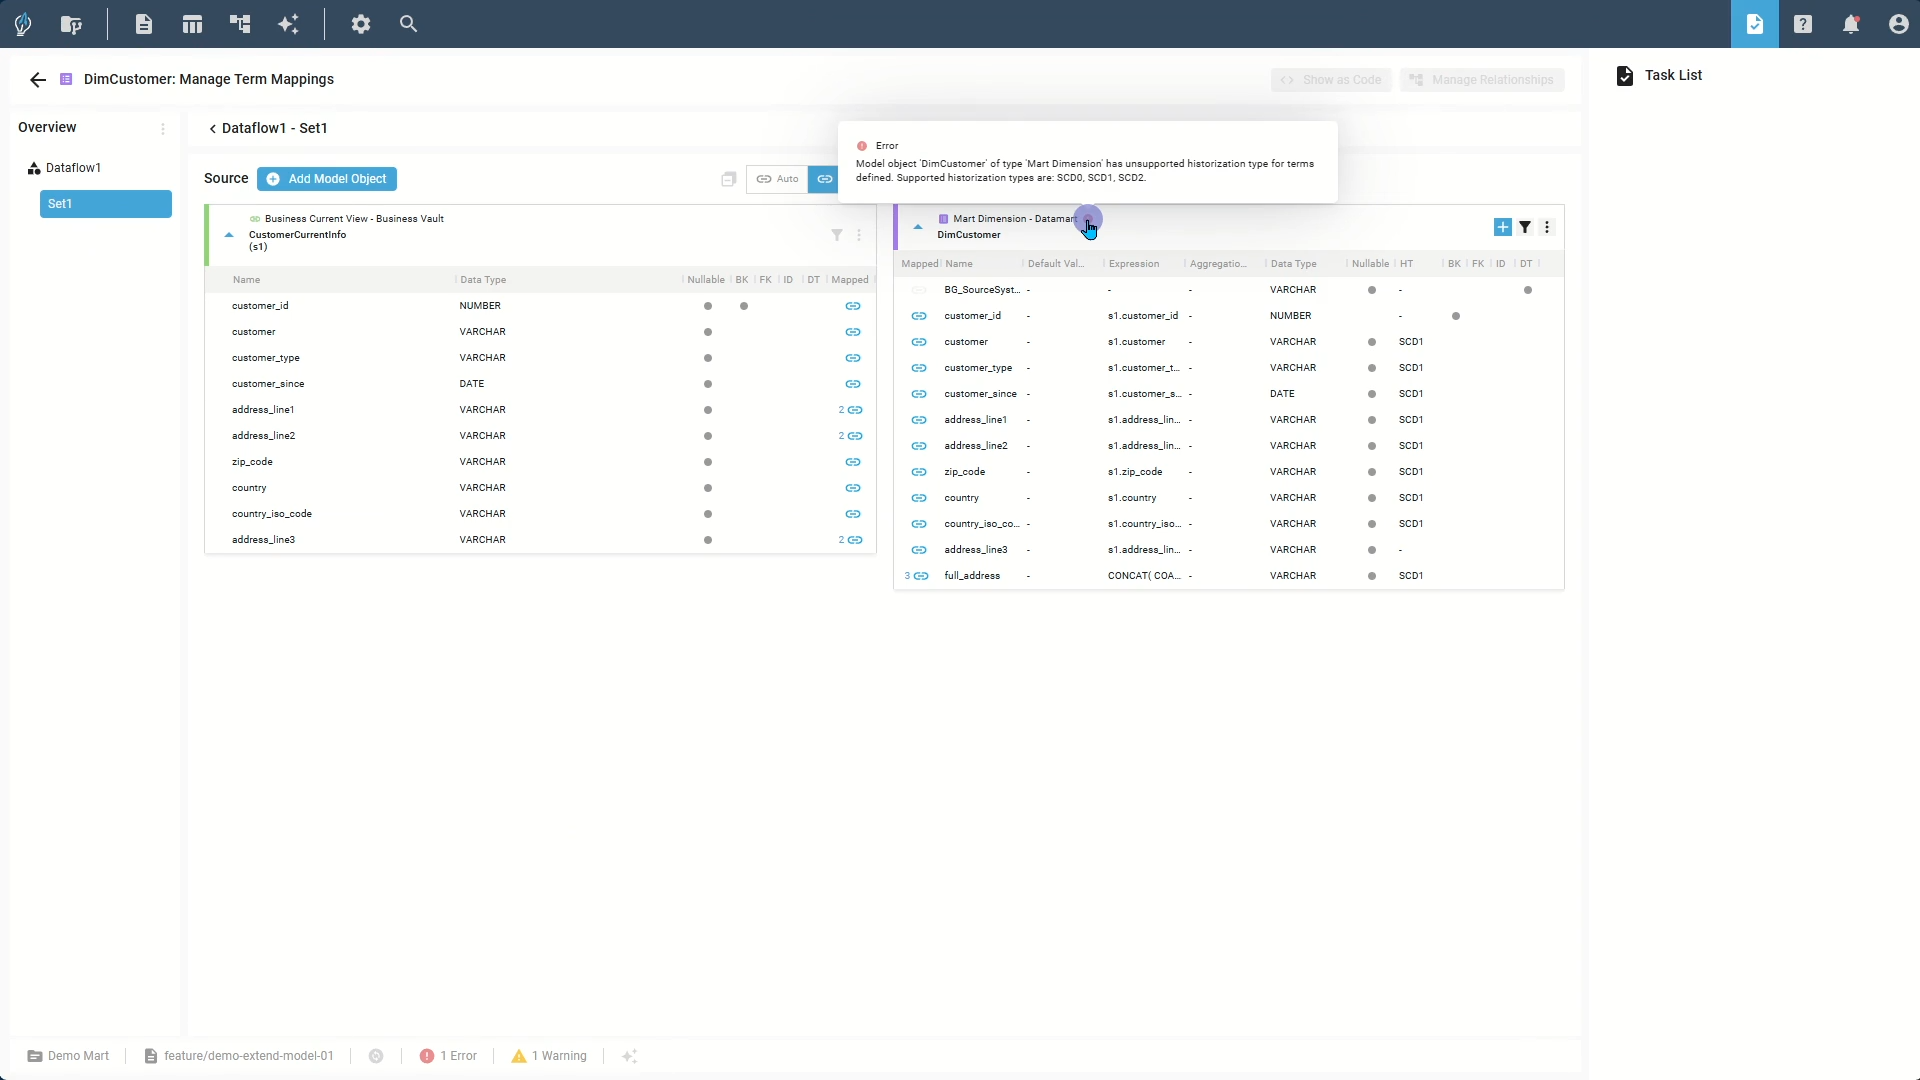
Step 6: Finalize and generate
- Review data flow in the Data Lineage View
- Check object connections in the Relationship Modeling View
- Create output files through the Generate tab
Generated files automatically adapt to your target technology, whether you're using T-SQL for Microsoft SQL Server or Snowflake SQL. Each script includes configurable placeholders for database and schema names, which you can easily customize using a configuration script.

Step 7: Deploy your solution
Deploy your generated files through CI/CD pipelines or download them for manual review. The project settings offer flexible load control options, letting you fine-tune deployment strategies to match your specific requirements.

biGENIUS-X accelerates data engineering workflows through its intuitive interface, seamless Git integration, and powerful automation tools. By leveraging features like task lists, validation checks, and automation wizards, teams can significantly reduce manual work while quickly adapting to source system changes and maintaining high-quality data models. These capabilities free up data engineers to focus on what matters most: delivering actionable insights and innovative solutions that drive business value.


